

Watching the amazing patterns forming on these frozen bubbles is pretty cool! Every bubble is unique, with its own spectacular ice crystal formation. This is an easy, fun science experiment.
This does take a little bit of patience – the bubbles can pop easily, so it takes some practice to get the technique right!

Before You Begin
Pick a cold day. It’s best when temperatures are below 5°F/-15°C, but the colder, the better! The bubbles can even freeze in the air if it’s really cold.
Dress warm! Extreme cold can be dangerous, so be sure to bundle up and have an adult around to keep an eye on safety.
Pick a day with no wind. Even a gentle breeze can make the bubbles pop. Or try building snow walls around a small area to block the wind.
Be gentle and slow when blowing; otherwise, the frozen bubbles could pop.


Supplies for Frozen Bubbles
- 4 Tbps Dish soap
- 4 Tbps Corn syrup
- 3.5 Tbps Sugar
- Straw (we found a wide one worked best)
- Bowl
- Spoon
- 300ml warm water
Instructions

Add the warm tap water to a bowl.
Then add the corn syrup and stir.

Add the sugar
Stir until the sugar is dissolved (when you don’t see any more sugar crystals)

Add the dish soap.
Stir gently until combined (not too vigorously, or there will be too many bubbles)

Put the mixture in the freezer or outside for maybe 20-30 minutes
You don’t want the liquid to freeze, so if you live somewhere very cold, reduce the outdoor chilling time
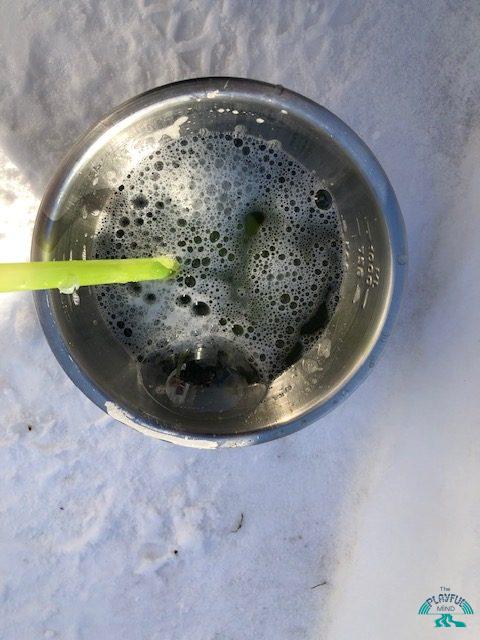
Dip the end of the straw in the bubble mixture.
If you blow and no bubble forms, dip the end of the straw into the mixture again

Find a flat, snowy surface to blow your bubbles.
If it is too windy, you could build a little snow shelter around it to block the wind.
Or, if it’s really cold, blow them into the air and watch them freeze!

TIPS: Blow through the straw slowly
Use a gentle breath (don’t blow too hard)
Sometimes, the bubbles will land, and sometimes, they will stay attached to the straw.
Gently roll the straw off the bubble if the bubble is still stuck to the straw.
Have fun!
 Print This Post

The Big Sis