

A beautiful winter craft is making ice candles. Ice candles are easy, fast, and fun, with endless creative possibilities!
They are really beautiful at night, set in the snow, ranging with flames and making ice sparkle and twinkle.
The best part is all you need for this winter craft is water, a container, and some items from your home or yard,
SUPPLIES FOr Ice Candles
- Watertight containers that are freezable: plastic cups, bowls, yogurt containers, tin cans (be careful about sharp edges!); larger and smaller sizes as one container will need to fit inside another container
- Tea lights OR electric/solar lights for safety and longer ice life
- Natural materials (we only use natural biodegradable materials so when the ice melts, plastic or metal won’t litter outside)
- Water and freezing temperatures (or freezer space if not cold enough)
- Food dye (optional)
Directions


Collect your artistic items (pinecones, leaves, sticks, berries, pebbles, whatever your eye spies!)

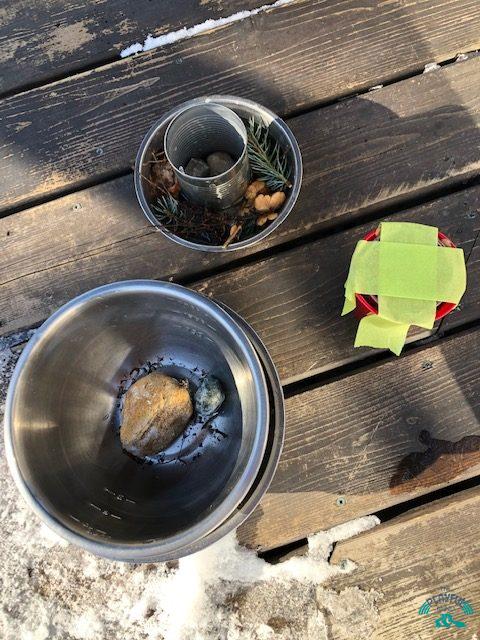
Put one cup or container inside another larger cup or container (we just experimented with what we could find)
TIP: The inside cup should be the same height or taller than the outside cup, but not shorter!


Arrange your treasures in the space between the two cups
When you add water, they will rearrange themselves, so there is no need for perfection 🙂


To keep the inside cup from floating up too much when you add the water, put a couple of rocks inside the inner cup (or container)
But not too heavy: you do want the container to float just a little so that ice will freeze between the cups on the bottom (or your candle will have a big hole)

Or you could also tape down the cups like this after filling them with water if you don’t have any rocks.
But don’t tape them down too hard: you want a little space between the cups on the inside bottom (or your candle might have a big hole)

Pour water in; we used a small watering can, which made this easier to do
But don’t fill to the top! Leave a couple of centimeters to let the ice expand
(There is another science research project – ice expands??)
When everything is frozen, bring them inside for a few minutes to thaw just a little
Filling the inside container with warm water makes it easier to pop the ice out.

Put tealights (adult supervision!) or add solar or battery lights and enjoy!

We tried a few different containers: bowls, cans, cups… basically whatever we had around!
More Winter Craft Ideas
This is so cool to watch as the bubbles freeze.
No two are the same.
Frozen bubbles are easy to make, fast, and with household items.


The Lil Sis